Asset Management module with quick inventory resolution
Welcome to the era of optimal inventory management with CDESK! Version 3.2.4 brings with it innovative and practical solutions for managing and controlling company inventory in the form of the new Asset Management module.
Oversee your assets from purchase to disposal. Each item can be categorized and searched by location, type, condition or responsible employee. CDESK also creates space for you to add your own details about each item or an image to appear next to it.
Create inventories in a clear web interface and scan items with the CDESK Asset Inventory mobile app. Scan items with mobile via QR, EAN codes or with a dedicated RFID tag scanner. Enter specific inventory orders based on criteria such as branch location, item type or personnel. This allows you to keep track of and efficiently allocate parts of inventory to employees. The final document of the inventory is the final report.
Part of the Asset Management is also the ability to import items from XLS files into the database or export a list of assets to XLS.
To set up a new module in CDESK, make one click in Global Settings and include the type of items from the configuration database in the Asset Management. The CDESK Asset Inventory app is available for download in the Google Play Store, and we are also working on publishing it in the Apple Store.
![]()
![]()
The Asset Management also includes handover protocols, which will be released in the next version (3.2.5).


New CDESK Pro mobile app, first version with requests, fulfilments and a practical interface
The new mobile app can be found on Google Play and Apple Store under the name CDESK Pro by Inova Logic
![]()
![]()
Bringing efficient field work with a new design. The new CDESK Pro mobile app allows you to carry out your first processes via smartphone. Compared to the previous version „CDESK3“, the new app is characterized by significantly higher stability, speed and more intuitive operation. In the current version, the modules Requests with discussion, Fulfilments, Address Book (in reading mode) and notifications for requests are available.
Each request displays its basic data, partially incorporating the Custom Fields (formerly Additional Properties) you have set. Requests are clearly displayed on the application’s home page and divided by filters, allowing quick management, searching and filtering by different criteria. Requests include a discussion that the user can join via the app, while there is also an option to send attachments.
For more dynamic and fluid work in CDESK Pro, it is possible to create bookmarks that the user can easily switch between. This is useful when copying text or reading information from another object in CDESK. Bookmarks are created either automatically when a new tab is opened from the main menu, by a long hold on a request, etc. A bookmark can also be created manually.
Currently, the last component of the request in the mobile app is the fulfilments, which can be edited and created directly in the request or via the main page.
On the main page, modules are clearly displayed at the top of the screen, users can easily and efficiently create new requests, catalogues of requests, fulfilments, internal fulfilments, and new items (CIs) using the „+“ button in the middle of the screen.
Clicking on the avatar next to the user’s name now opens a new page with the user’s account settings. The application supports the languages in which the CDESK system is developed: Slovak, Czech, English, German, Polish and Hungarian.
At the time of the first release, the application allows you to perform basic tasks, with limited functionality compared to the web version. We will keep you informed about the continuous addition of further functionalities in the next news. In future releases you can also expect the addition of a guide with tips on how to use the app.

New Google authentication and self-service customer account creation
With version 3.2.4, it is now possible for customers to authenticate via a Google account, which takes the security of the login experience a step further. It is also possible for the customer to self-service set up a customer account directly from the login screen, if the CDESK administrator allows it. This is possible in two ways:
- Automatically via Google authentication by pressing the „Sign in with Google“ button
- By manually creating an account via the „Create Customer Account“ link

Activate Google Authentication:
- Add the „Google Authentication with Customer Account Creation“ connector in Global Settings -> Connectors, API.
- For a specific company, it is possible to specify to which domain or email a customer account can be created.


Requests
Automatic change of request status to „Completed“ after „x“ days in „Waiting for Customer.“
To avoid backlogged and stagnant requests from the customer, you can manually set a time during which the request will remain in the „Waiting for Customer“ status. After the time you set has elapsed, the request will automatically change its status to „Completed“ and the customer will be notified. The switch to enable this functionality in CDESK can be found in Global Settings -> Requests -> Request Statuses

Enable/block sending attachments in emails for each company separately
The latest version of CDESK allows for companies to set to allow or block the insertion of attachments in emails sent from CDESK, which allows to better control the size of the emails sent and increase security.
You can choose whether to send all attachments (i.e. the status as it is now), only new attachments, Off – no attachments. You can set the default setting valid for all companies in Global Settings -> Notifications -> Basic Settings . Different settings for a specific company are already done in the Company Settings itself. This can be found in the Address Book module -> Companies.

Custom fields in regular requests
Regular requests function as a preset scheme of recurring assignments. So far, it has not been possible to generate new requests from regular requests with custom fields.
In version 3.2.4 it is now possible to specify common custom fields for all regular requests and separately for each „template“ of a regular request.
You can create common custom fields in Global Settings -> Regular Requests, specific for each „template“ of a regular request in the selected regular request in menu Requests -> Regular Requests. The changes will be reflected in all upcoming generated requests.

Filtering in the list of requests by the email address of the message from which the request was created
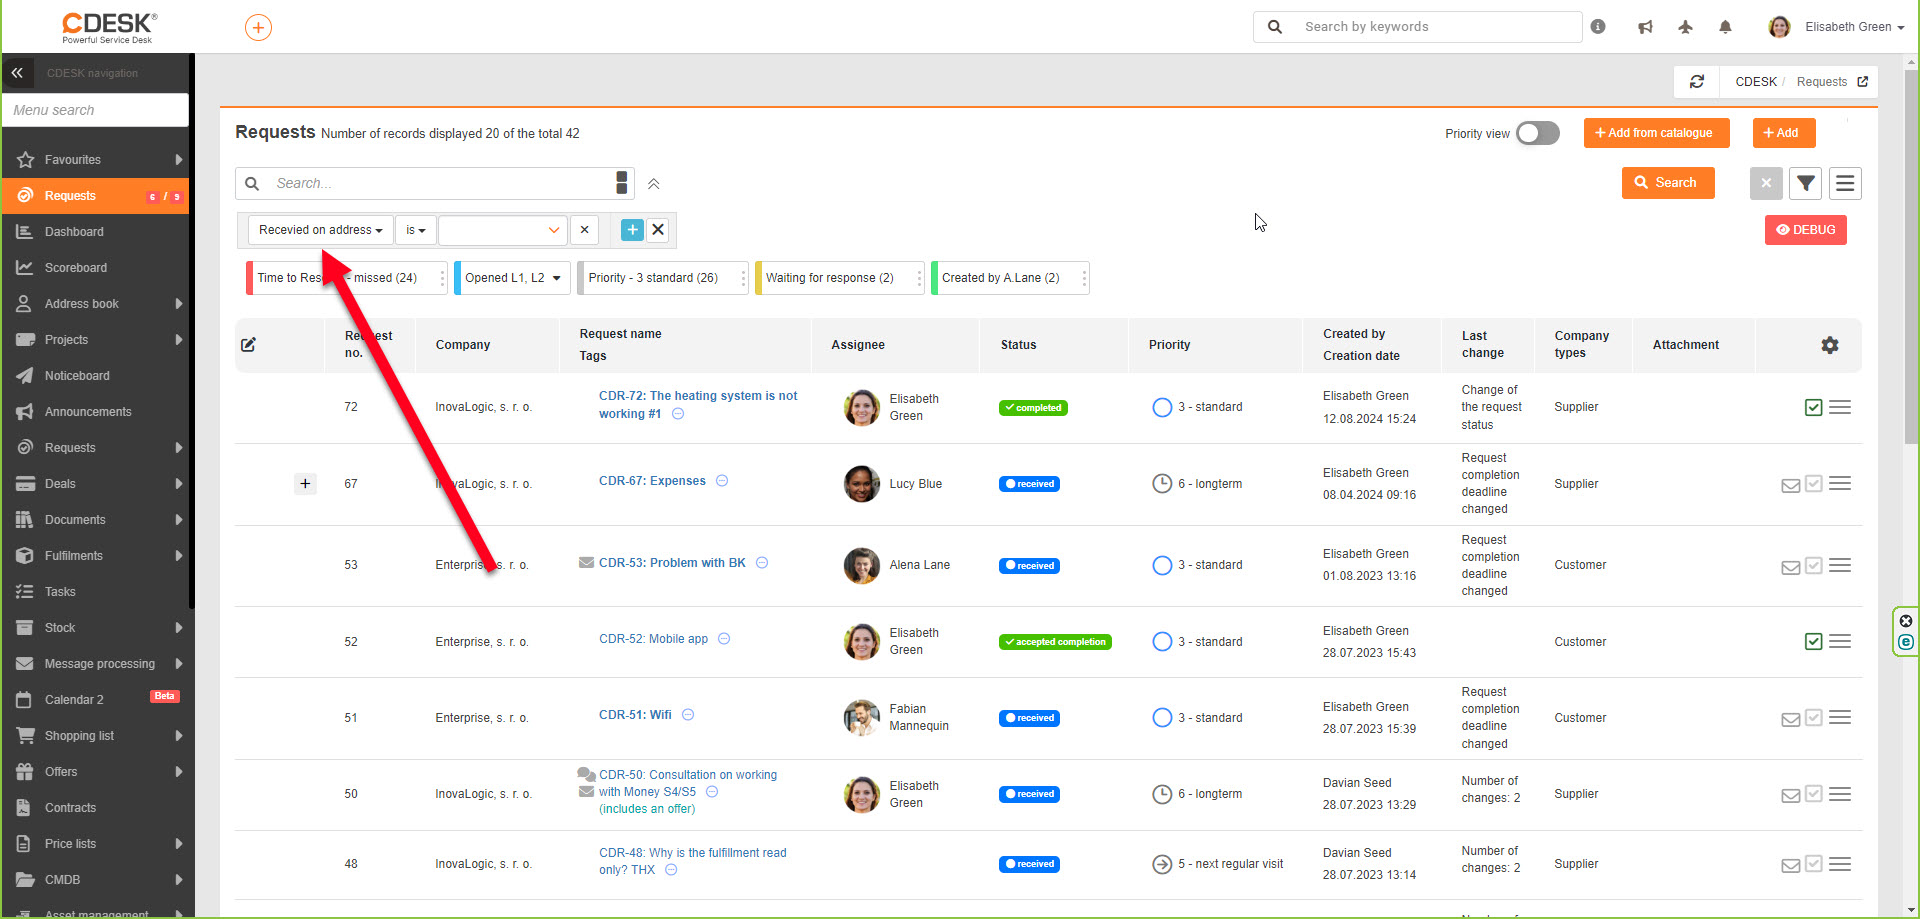
For better organization and transparency, in the latest version, requests can also be filtered in the list of requests according to the email address from which the messages to be processed were created. You can also view this source email address as a column titled „Received at“.
Work Orders
New Assignee Group role added to work order notifications
When a change is made to a work order, the entire assignee group will be able to be notified. You can set the new role „Assignee Group“ for any action in Global Settings -> Notifications -> Basic Settings in Work Orders.

Update the custom fields in the request template to start and end work orders
Request templates in the Requests -> Request templates module contain a list of custom fields that, when clicked when creating a request, create a linked work order. Setting a specific work order in Requests Templates -> Work Orders allows you to select from the list of custom fields those that will create the work order. If the custom fields in a template are changed (deleted or added), a „Refresh“ button will appear in the list. When clicked, the list is updated and synchronized with the list of custom fields in the request template. In this way, the user avoids selecting outdated custom fields and gets the ones that have been added to the system most recently.

Fulfilments
Flat rate usage displays
If you select flat rate as a billing item in the fulfilment, the flat rate usage for the current period is also displayed. The user can view it by clicking on the arrow to the right of the billing item selection. The user is alerted in red for usage beyond the prepaid hours within the flat rate.

When dispensing material (not only) in fulfilments, select multiple stock items at once
After selecting multiple stock items/cards, they can be added to the fulfilment at once. A similar principle is applied in the case of stock issue notes.

Approval
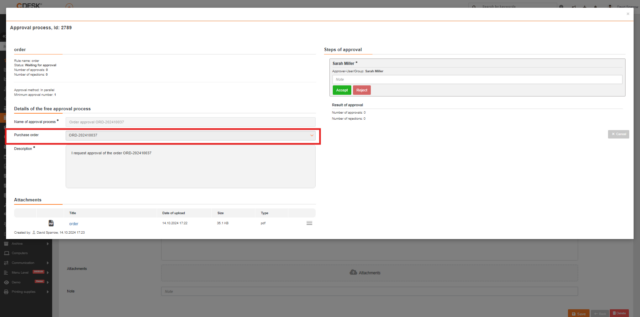
Free approval rule added to orders
The free approval rule was applied to requests in previous versions, but with version 3.2.4 it can be applied to orders as well. When creating a free approval process in the Approval module, a new custom field labelled „Place of Use“ is displayed with the preset option Requests. In this field, the Orders option can be selected. If the Orders option is selected, the logged in user will be given the option to make the document unavailable for editing while the approval process is in progress. Once this switch is toggled, the record will no longer be editable until it has gone through the approval process.
If the above rule has been applied to an order, all other orders will display the Submit for Approval option and the Approval Status column will appear in the list of orders.
Calendar
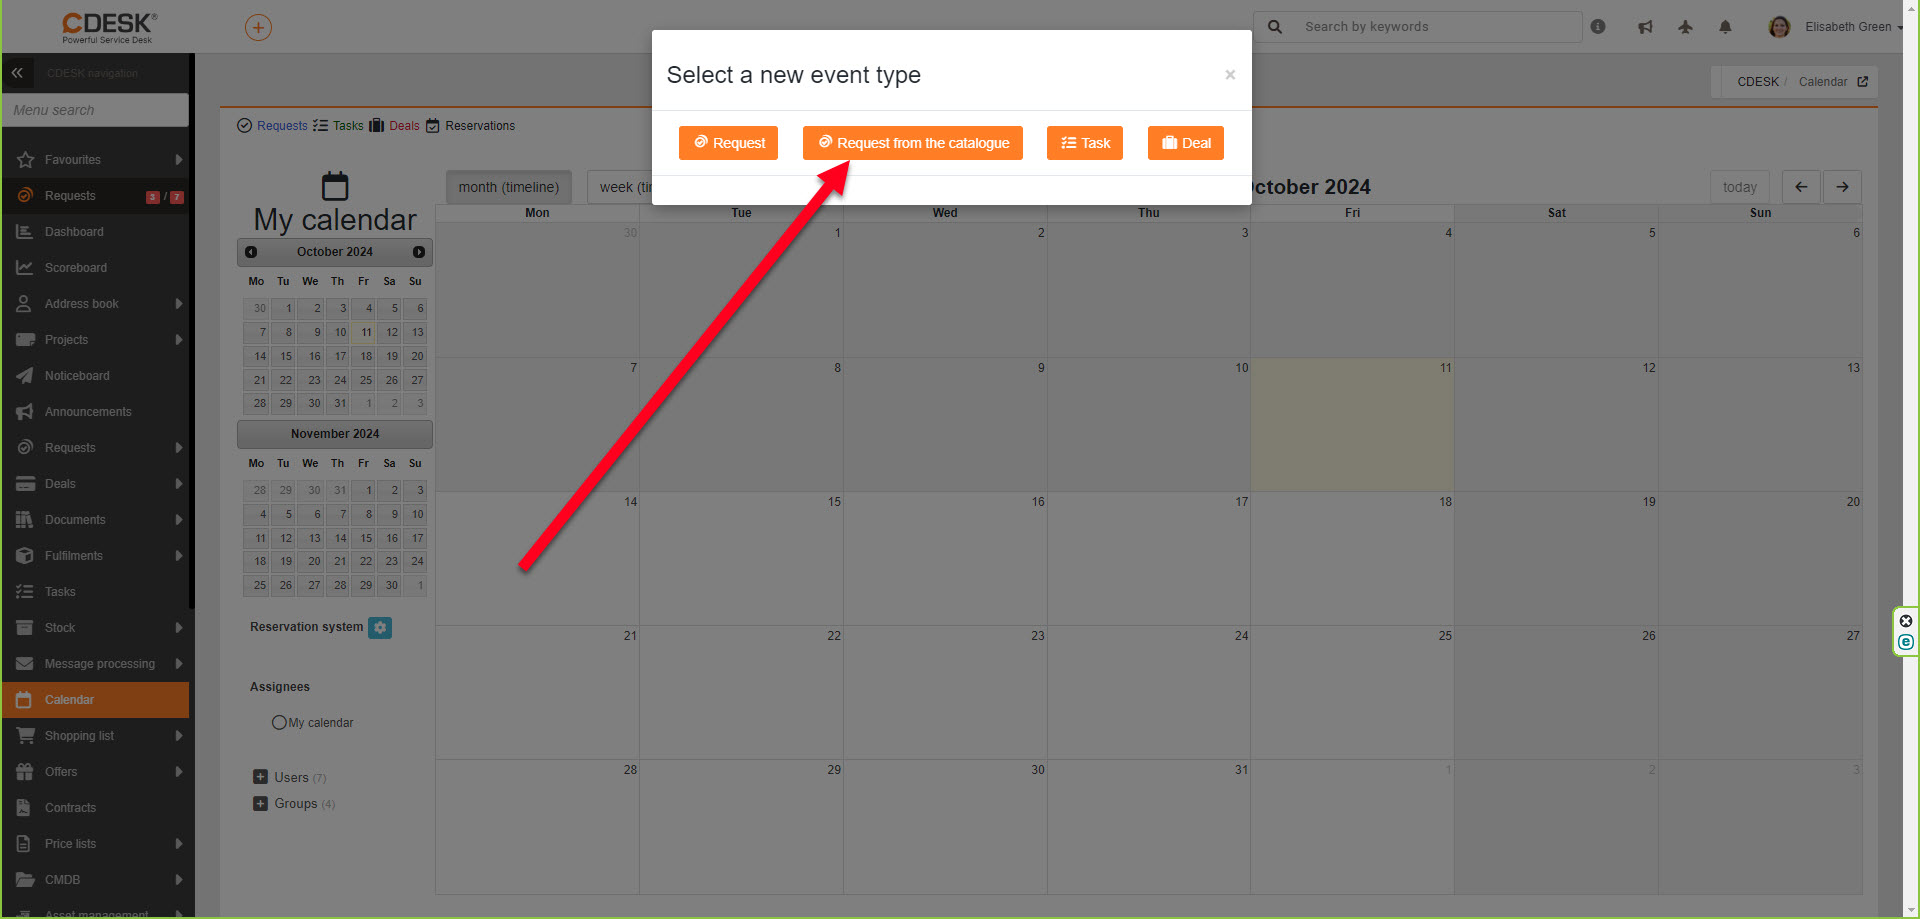
Possibility to add a request from the catalogue via the calendar
In the latest version 3.2.4 we have also focused on more practical interconnection of modules. The possibility to create a request from the catalogue became available in the calendar.
Omnichannel VOIP
Extension of call report by content – request tags
Once the calls have been made, the focus (content) of the calls can be assigned to them. The statistics of calls with specific content will also be reflected in the XLSX report, in which content categories will be added.

Address Book
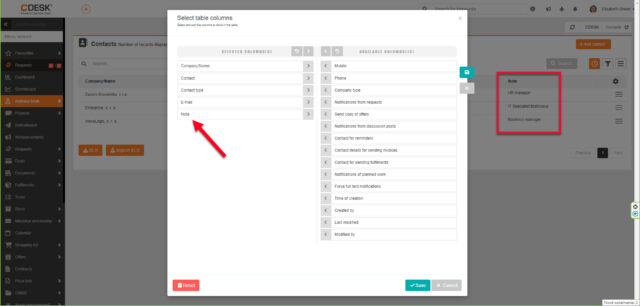
Note column added in the Contact List
A „Note“ column has been added to the columns in the contact list. These can be entered for both companies and contacts, and will also appear in the list next to the contact. Contacts can be searched according to whether or not they contain a note, the „Note“ column can also be included when exporting the contact list.